Propagating Climbing Aroids
Monstera, Philodendron, Epipremnum, Syngonium, Scindapsus, Rhaphidophora and Amydrium all root from the same structure: a node. Get the cut right and the rest is patience.
Why every cutting needs a node
A climbing aroid stem is only capable of producing new roots and shoots at one specific point: the node, where a leaf's petiole meets the stem and a dormant lateral bud sits just beneath the surface. The internode tissue between two nodes has no equivalent structure. No amount of soaking, hormone gel, or wishful thinking will make a bare length of internode root, because there's simply nothing there to activate. Every cutting, regardless of species, has to include at least one intact node or it cannot become a new plant.
This is why the same propagation logic applies almost identically across Monstera, Philodendron, Epipremnum, Syngonium, Scindapsus, Rhaphidophora and Amydrium, despite them being different genera; they're all climbing Araceae that root from nodes along a vining stem, adding aerial roots at the same points as they climb in habitat. The differences between them are mostly cosmetic (latex sap in Philodendron and Monstera, thinner and faster-rooting stems in Epipremnum and Scindapsus, the pedate mature leaf shape in Amydrium) rather than structural.
Step by Step
Follow the trail below, one component at a time — each illustrated in the same antique botanical plate style used across our species archive.
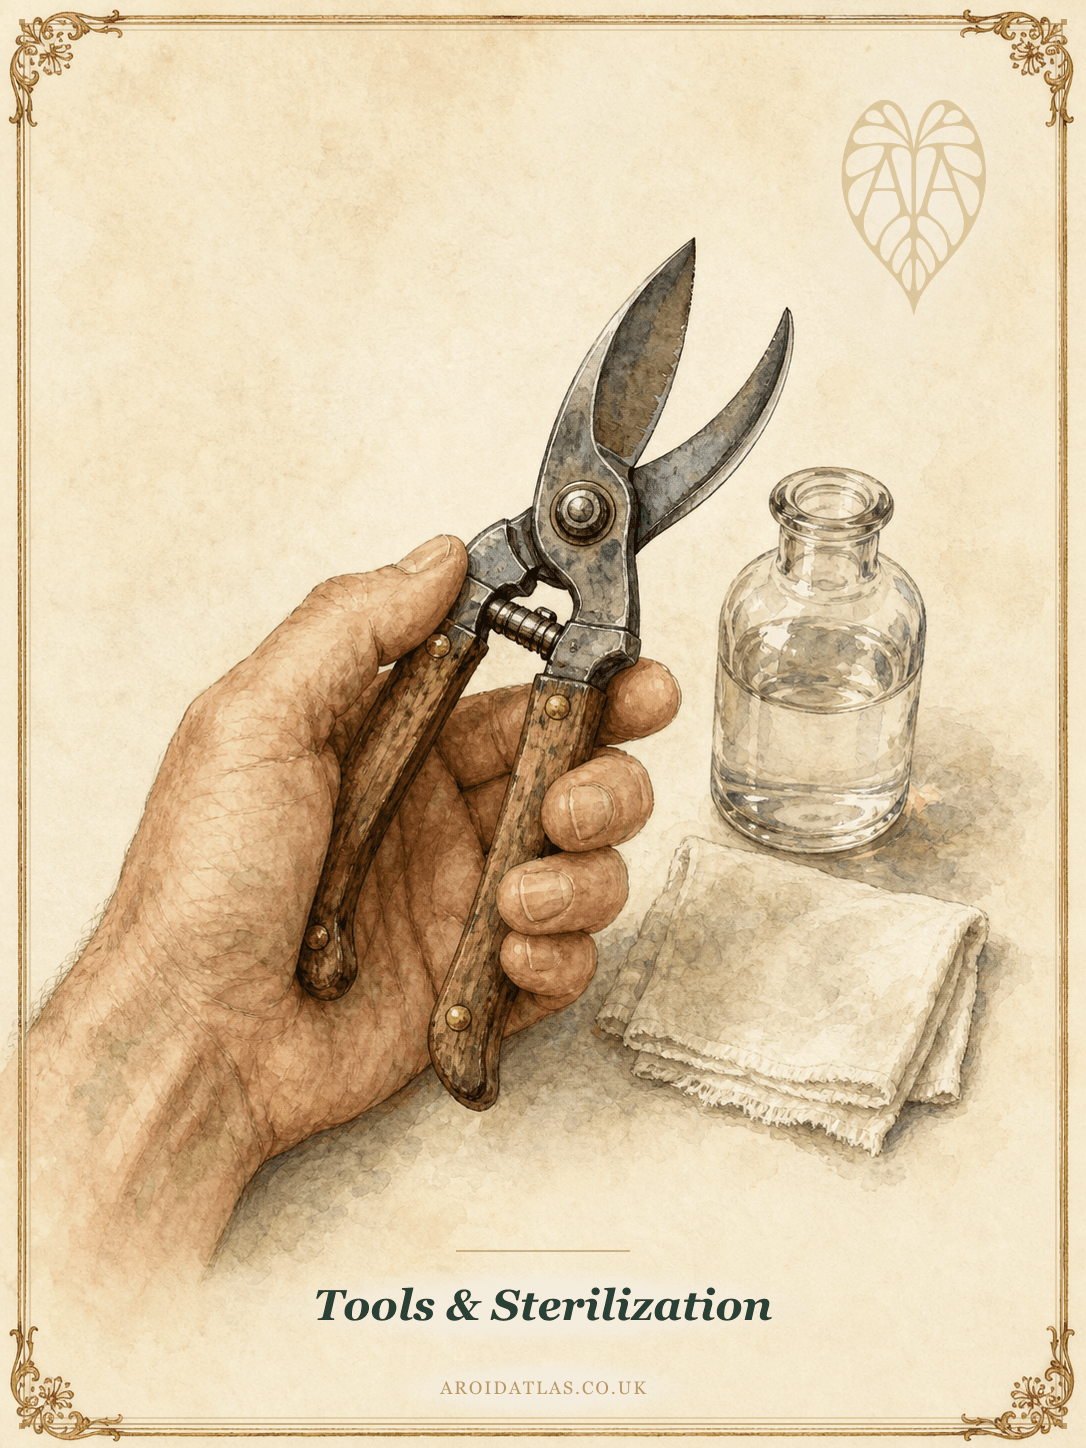
Tools & Sterilization
A pair of sharp bypass snips or a scalpel blade, wiped down with 70% isopropyl alcohol, is all the equipment this actually requires. A clean cut heals faster than a crushed one, and a sterile blade matters more than the tool itself. Pruning shears that have just been used on an infected or pest-ridden plant can transfer bacterial and fungal pathogens straight into the fresh wound of your next cutting.
Wipe the blade between every single cut, not just once at the start of a session, especially if you're taking cuttings from more than one plant back to back.
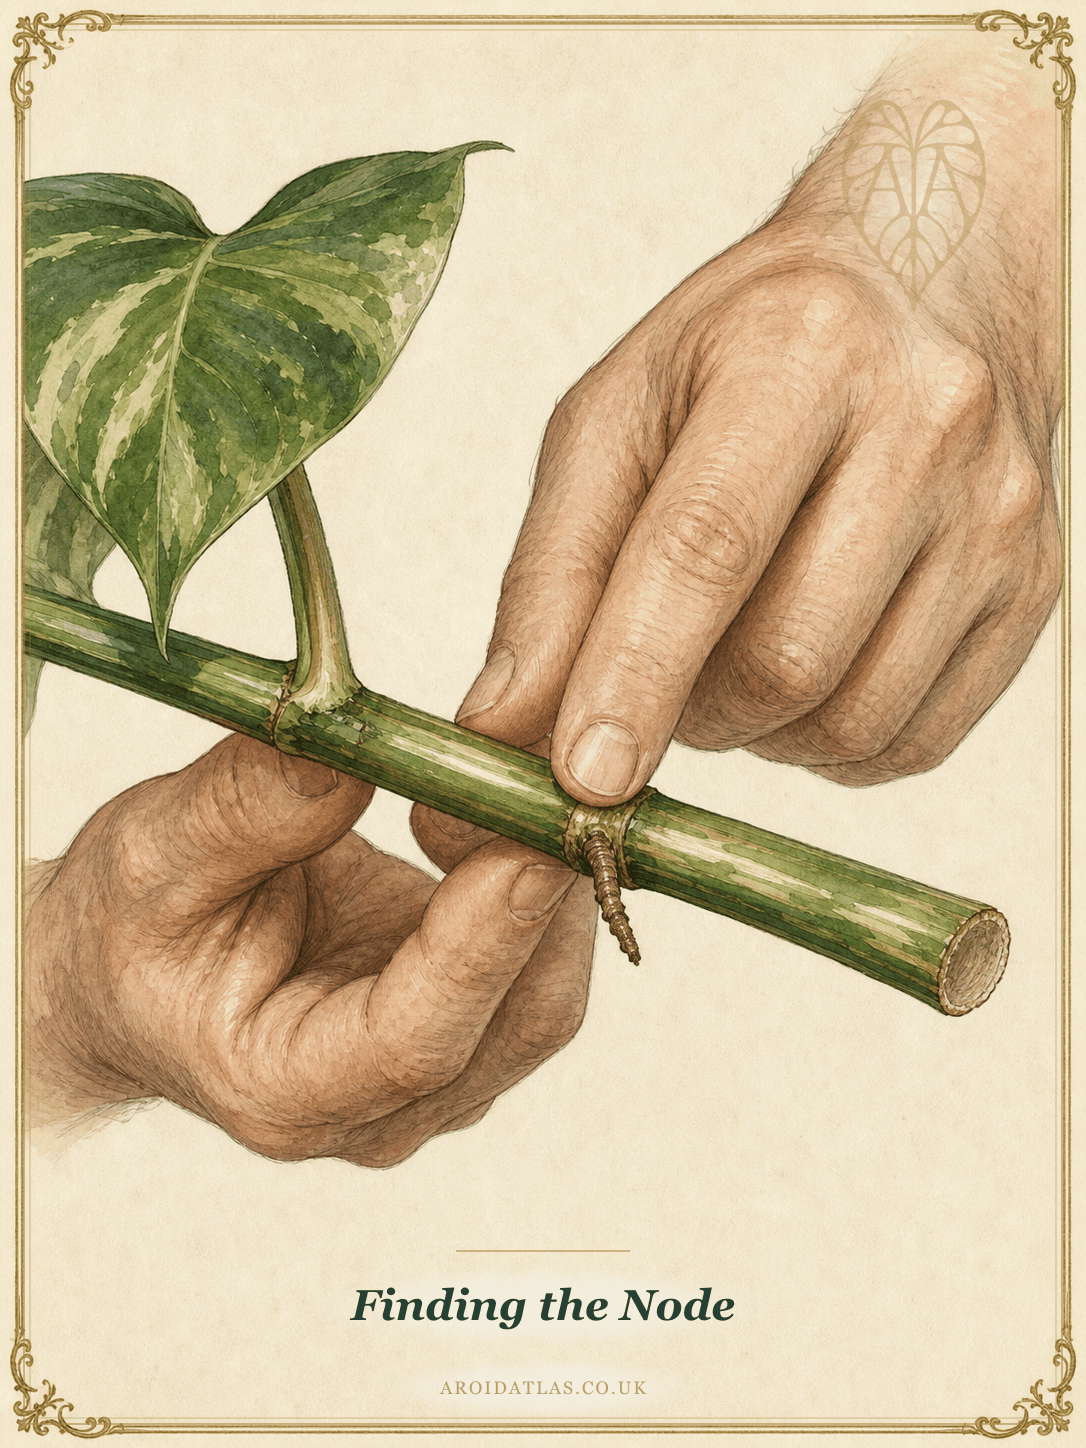
Finding the Node
Look for the slightly raised ring or bump on the stem directly opposite a leaf's petiole, often with a brown, dried, or actively growing aerial root nub already emerging from it. A node with a visible root nub, even a shrivelled brown one, will typically root noticeably faster than a bare node with no root tissue present at all, since it's already partway there.
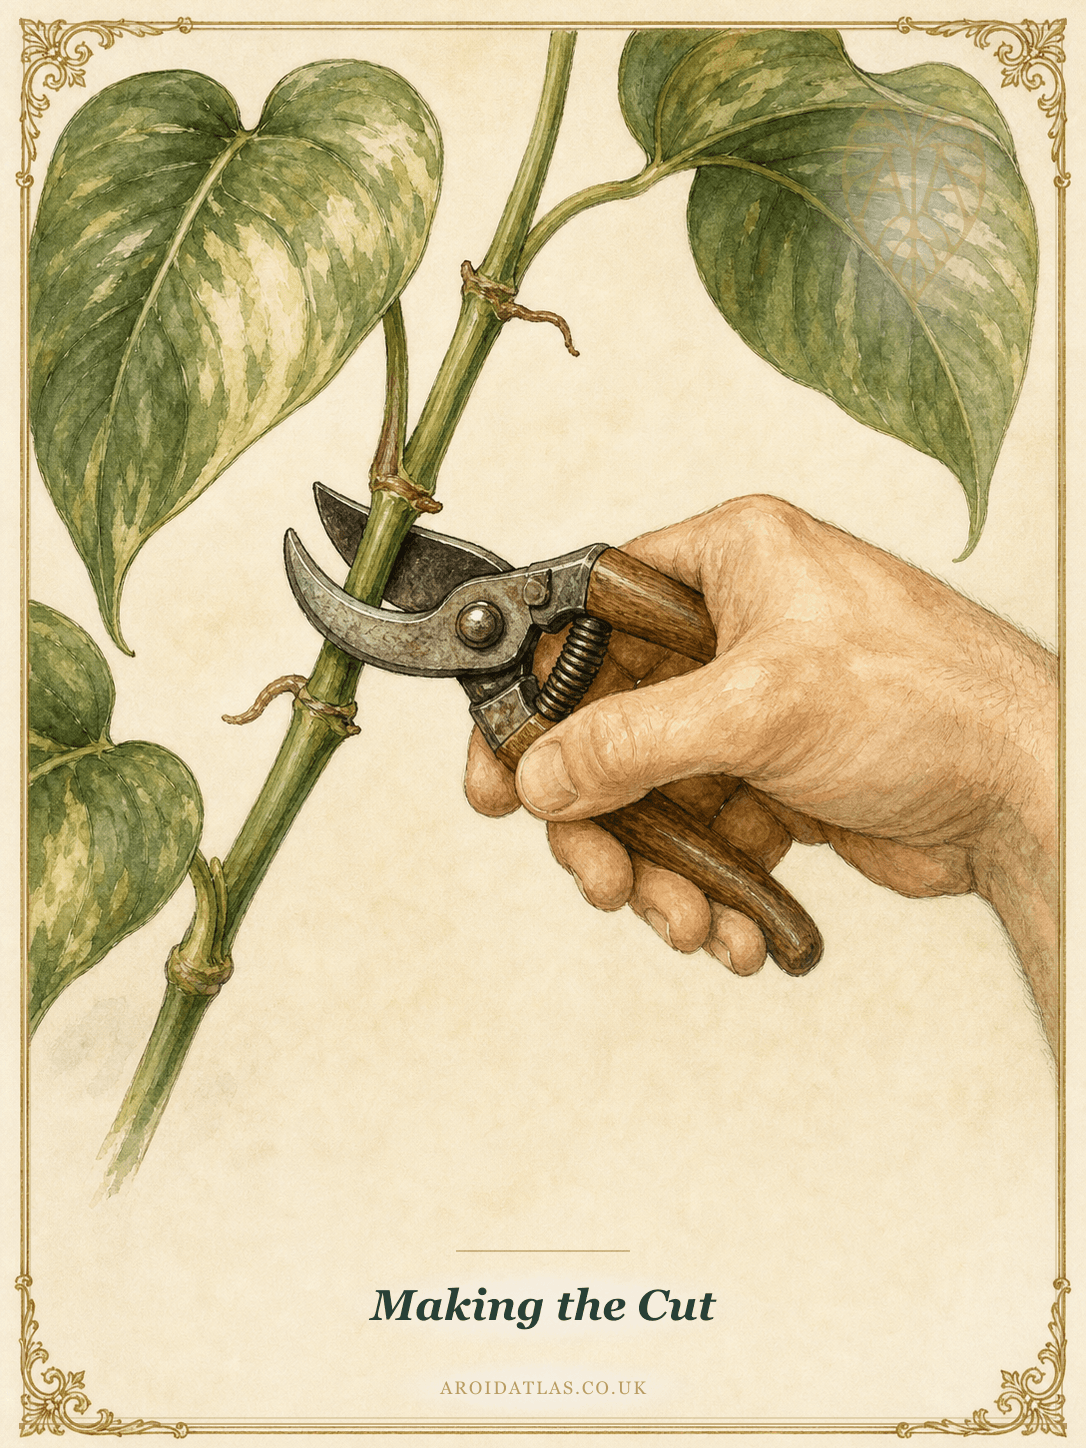
Making the Cut
Cut roughly 1cm below the node at a slight angle, leaving the node itself fully intact on the piece you're keeping. If the stem is long enough, take two nodes rather than one. A single-node cutting has no fallback if that one point fails to callus or root, while a two-node cutting gives you a second chance and can be trimmed back once roots appear.
Philodendron and Monstera both exude a milky latex sap when cut that can irritate skin on contact; wear gloves and wash your hands before touching your face.
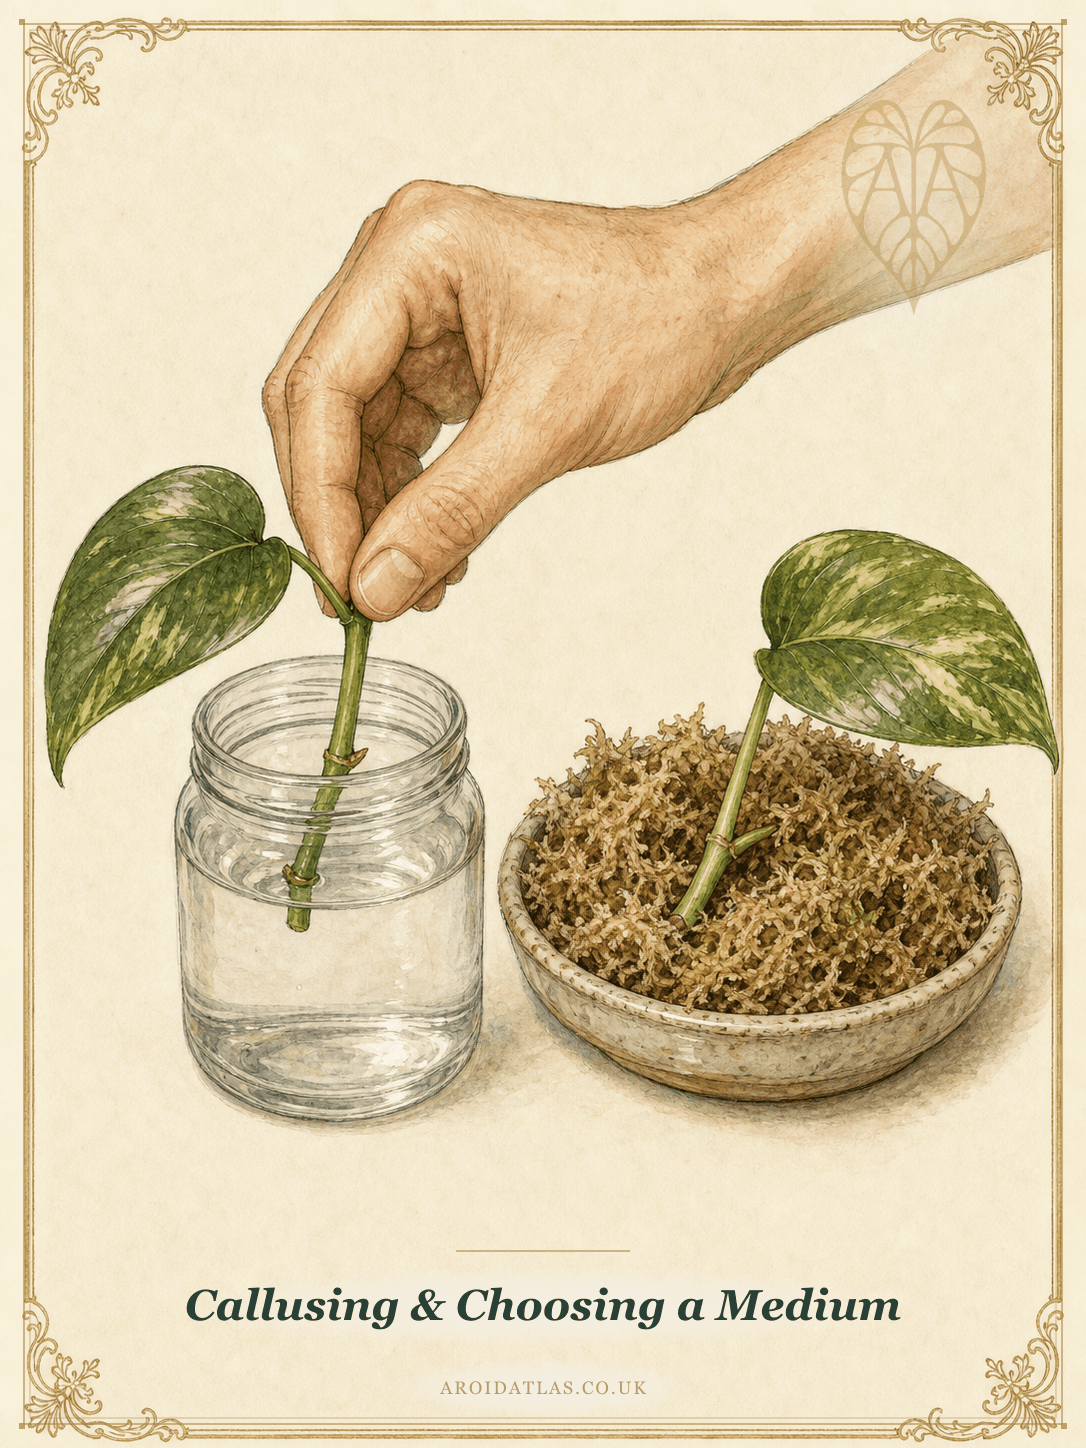
Callusing & Choosing a Medium
Letting the fresh cut surface air-dry for an hour or two before introducing it to a wet medium lets it seal slightly, cutting down on the surface area exposed to rot-causing organisms. From there, water, damp sphagnum moss, and perlite all root reliably; the choice mostly affects what kind of roots you get, not whether it works at all.
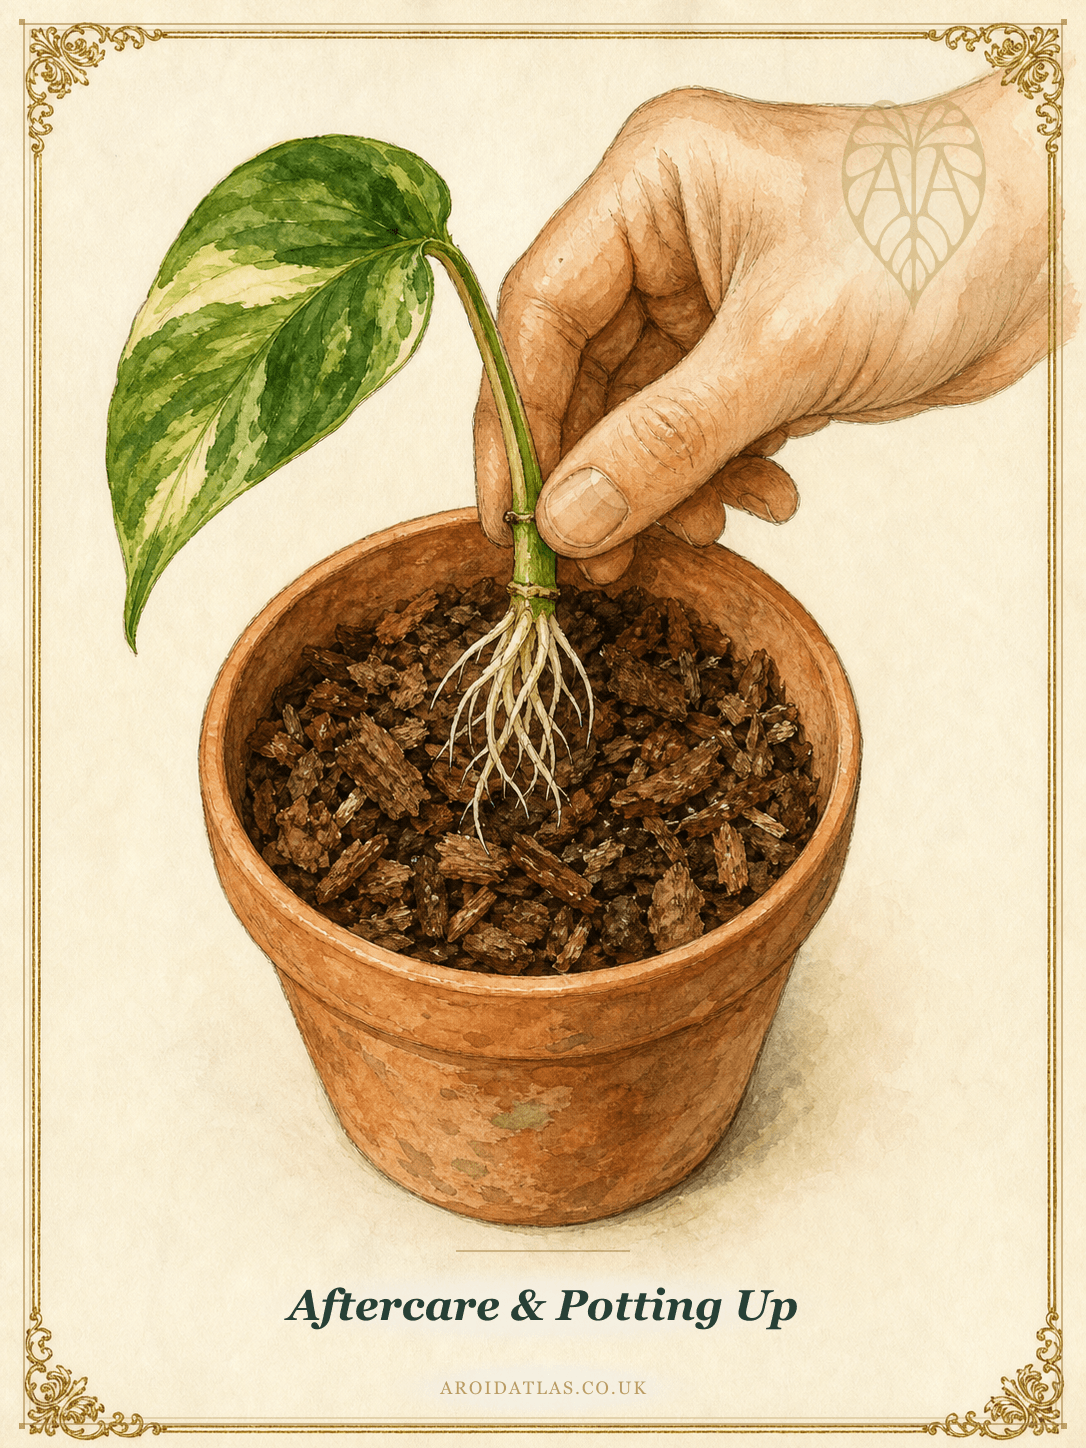
Aftercare & Potting Up
Wait until roots are at least 3-5cm long before potting into substrate. Moving a cutting too early, before it has enough root mass to actually take up water, is one of the most common causes of a newly potted cutting collapsing. A clear humidity dome or bag over the new pot for the first couple of weeks reduces the transpiration stress on a root system that's still establishing.
Water, sphagnum, or straight to the pole?
A cutting will root in plain water, damp sphagnum moss, or perlite. All three work, and the choice is really about what happens after rooting, not during it. Roots grown entirely in water are thinner and adapted to submersion; moved straight into a chunky bark mix, they can struggle to take up water fast enough and are more prone to rotting at the transition. Roots grown in sphagnum or perlite from the start are coarser and closer to what the plant will use in its final substrate, which is why many experienced growers root in sphagnum even if they intend to pot into bark mix afterwards, rather than starting in water and converting later.
A third option skips a rooting medium altogether: if a stem is already trained against a damp moss pole, a lower node with an existing aerial root can simply be pressed into the moss and left in place. It roots into the pole while still attached to and fed by the mother plant, and only gets severed once it has its own established root system, removing almost all of the failure risk that comes with committing to a cut before you know it will take.
Skip the cut entirely with moss-pole layering
Instead of cutting first and hoping, press a lower node (ideally one with an existing aerial root) directly into the damp moss of a pole the plant is already climbing, and leave it attached to the mother plant. It roots in place while still being fed by the parent, and you only sever it once it has its own established roots, removing almost all of the guesswork of a blind cutting.
Water roots and soil roots aren't the same roots
A cutting rooted purely in water develops thinner, more water-adapted roots that can struggle when moved straight into a chunky bark mix. A widely used workaround is transitioning through damp sphagnum for two to three weeks after pulling a cutting from water, letting it grow a second, coarser set of roots before it ever meets substrate.
One node is the minimum, two is the safety margin
A single-node cutting works, but if that one node fails to root, there's nothing left to try again with. Whenever the stem allows it, take two nodes instead of one: you can always trim the extra length back once roots have formed, but you can't add a node back after the fact.
Sterilize the blade between plants, not just between sessions
Bacterial and fungal issues, and in rarer cases viral ones, can move from one plant to another on the same unwiped blade. A quick alcohol wipe between every cut costs seconds and is cheap insurance against turning a shared pair of snips into a way of spreading a problem across an entire collection.
Related Species
This guide applies directly to the following genera in our archive: