Propagating Alocasia, Colocasia & Caladium
No cutting, no node: these genera grow from an underground storage organ, and propagation means dividing a daughter offset away from the mother corm, cleanly and with patience.
Why corms propagate differently from vines
Alocasia, Colocasia and Caladium don't climb, and they don't root from stem nodes the way Monstera or Philodendron do. Instead, they grow from a corm or tuber, a swollen underground storage organ that stockpiles energy and periodically produces daughter offsets, or pups, budding off the mother corm's surface. Propagating one of these genera isn't about cutting a length of stem at all; it's about separating an offset that has already formed its own point of growth, once it's developed enough of its own root system to survive independently.
Caladium in particular grows from a true tuber rather than a corm, but the practical division method is identical enough that it belongs in the same guide: locate the offset, separate it cleanly, let the cut surface callus, and replant.
Step by Step
Follow the trail below, one component at a time — each illustrated in the same antique botanical plate style used across our species archive.
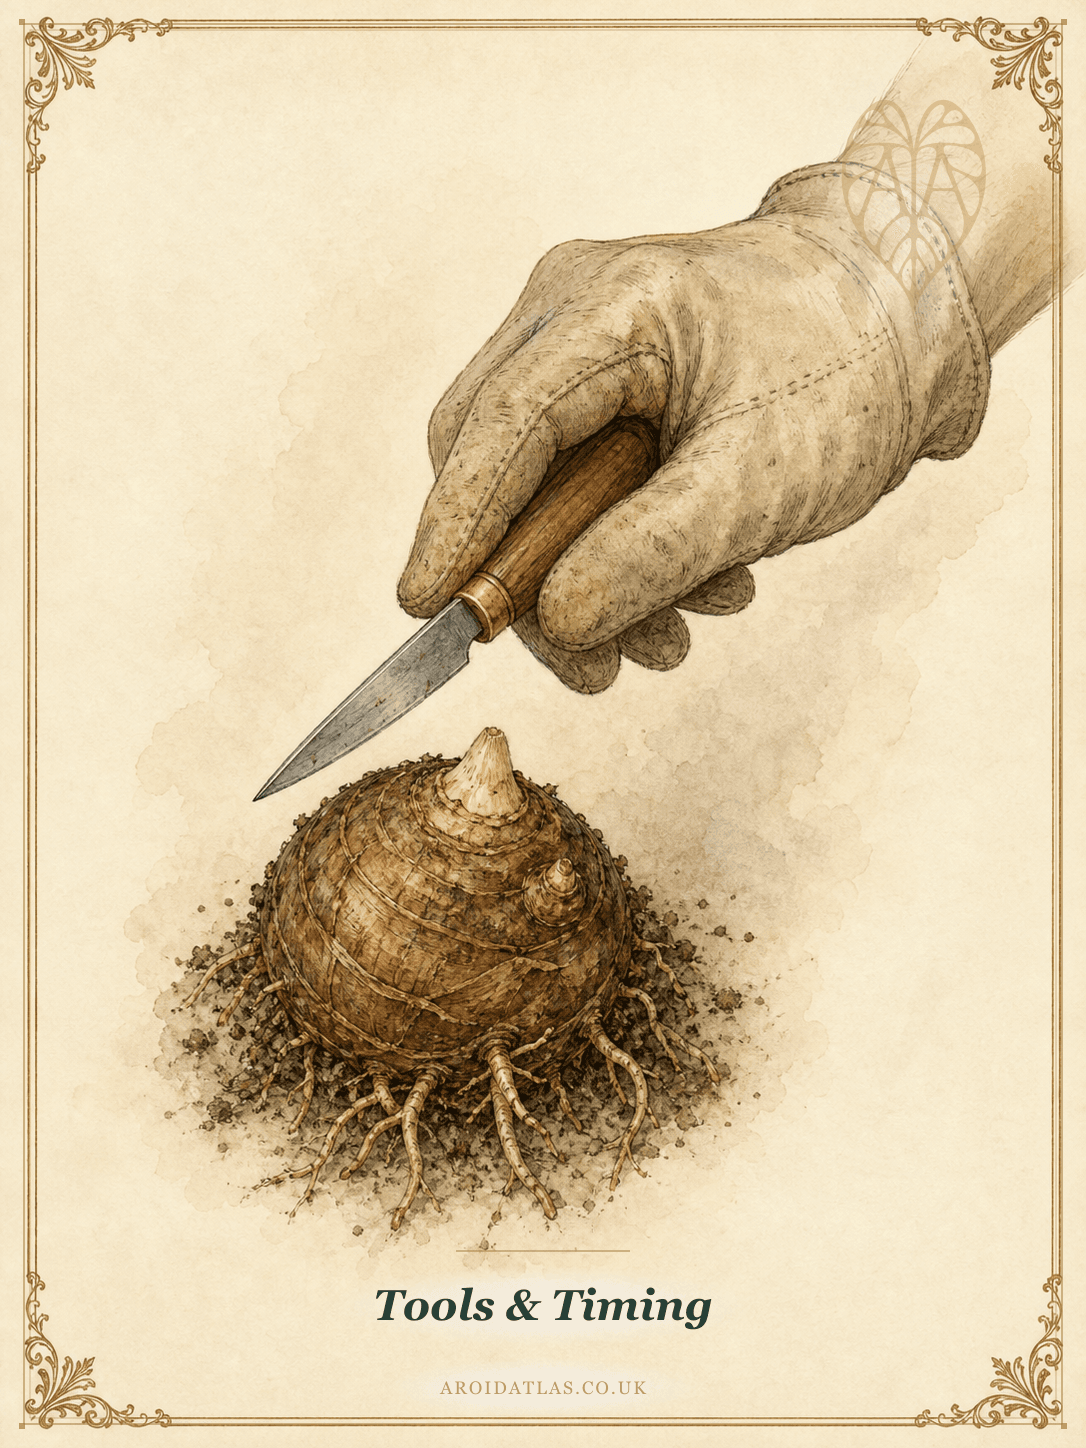
Tools & Timing
A clean, sharp knife works better here than snips, since you're often cutting through a thicker, fleshier corm rather than a thin stem. Divide during active growth in spring or summer rather than while a plant is dormant; a corm that isn't actively growing has far less capacity to heal a fresh wound or push new roots from a division.
Wear gloves throughout. Alocasia and Colocasia sap contains calcium oxalate crystals that irritate skin and eyes on contact.
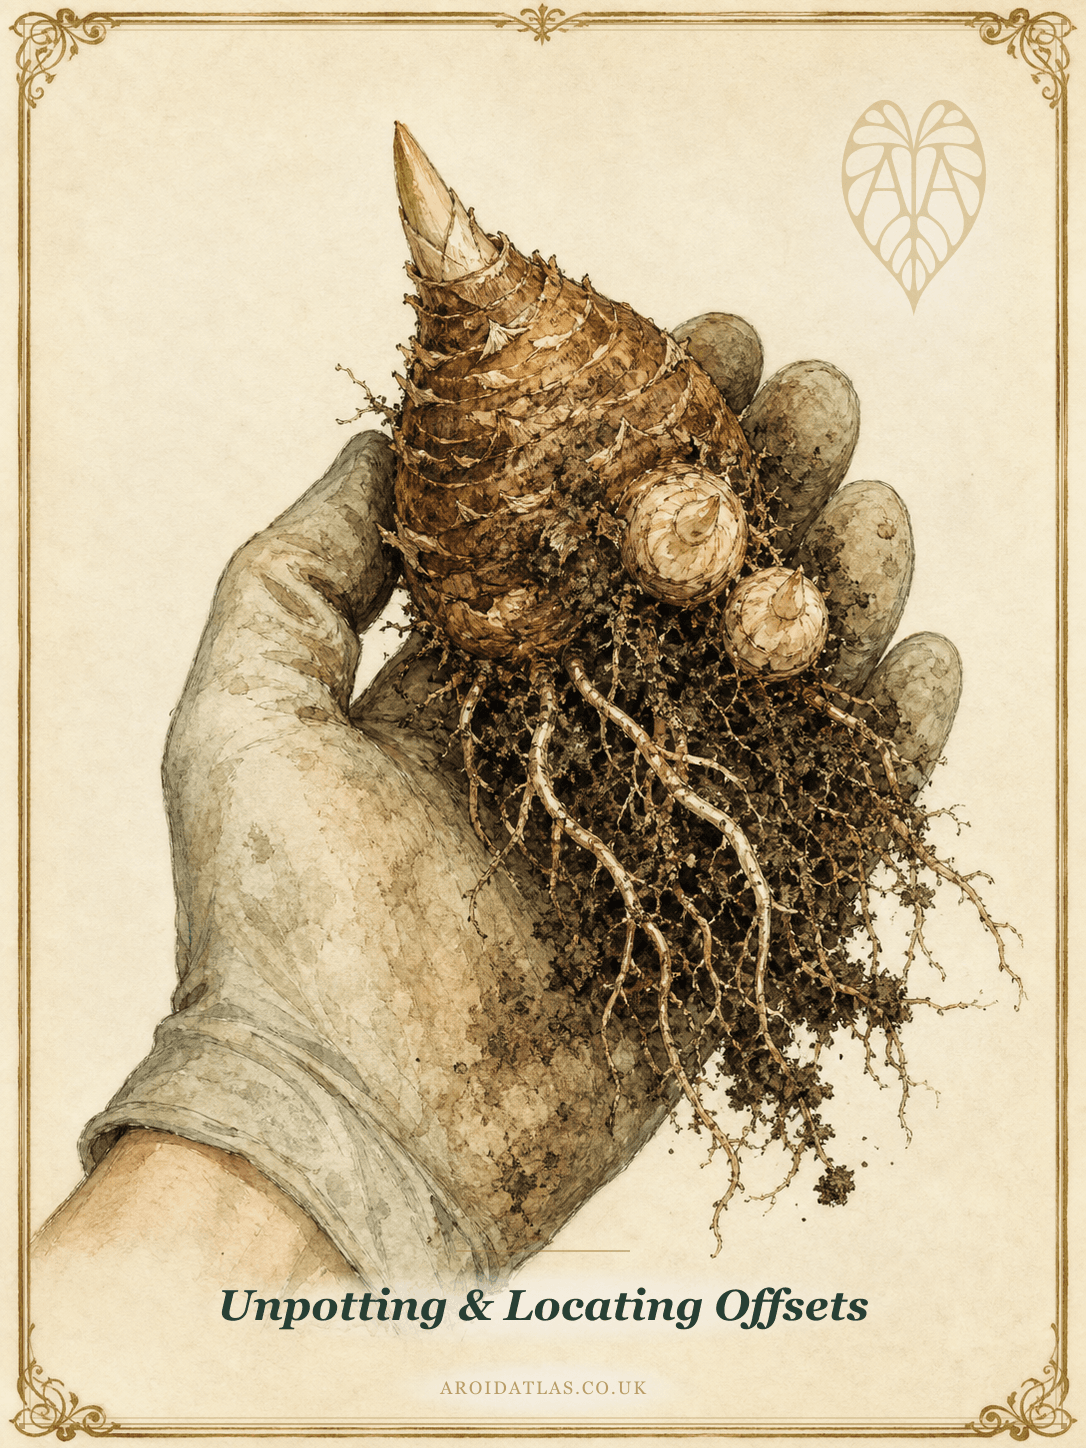
Unpotting & Locating Offsets
Ease the whole root ball out of its pot and gently brush or wash away loose substrate until the corm and any attached offsets are visible. Offsets typically sit at or just below the soil line, appearing as smaller, rounded bumps budding directly off the side of the main corm, often with a few root initials of their own already forming at the base.
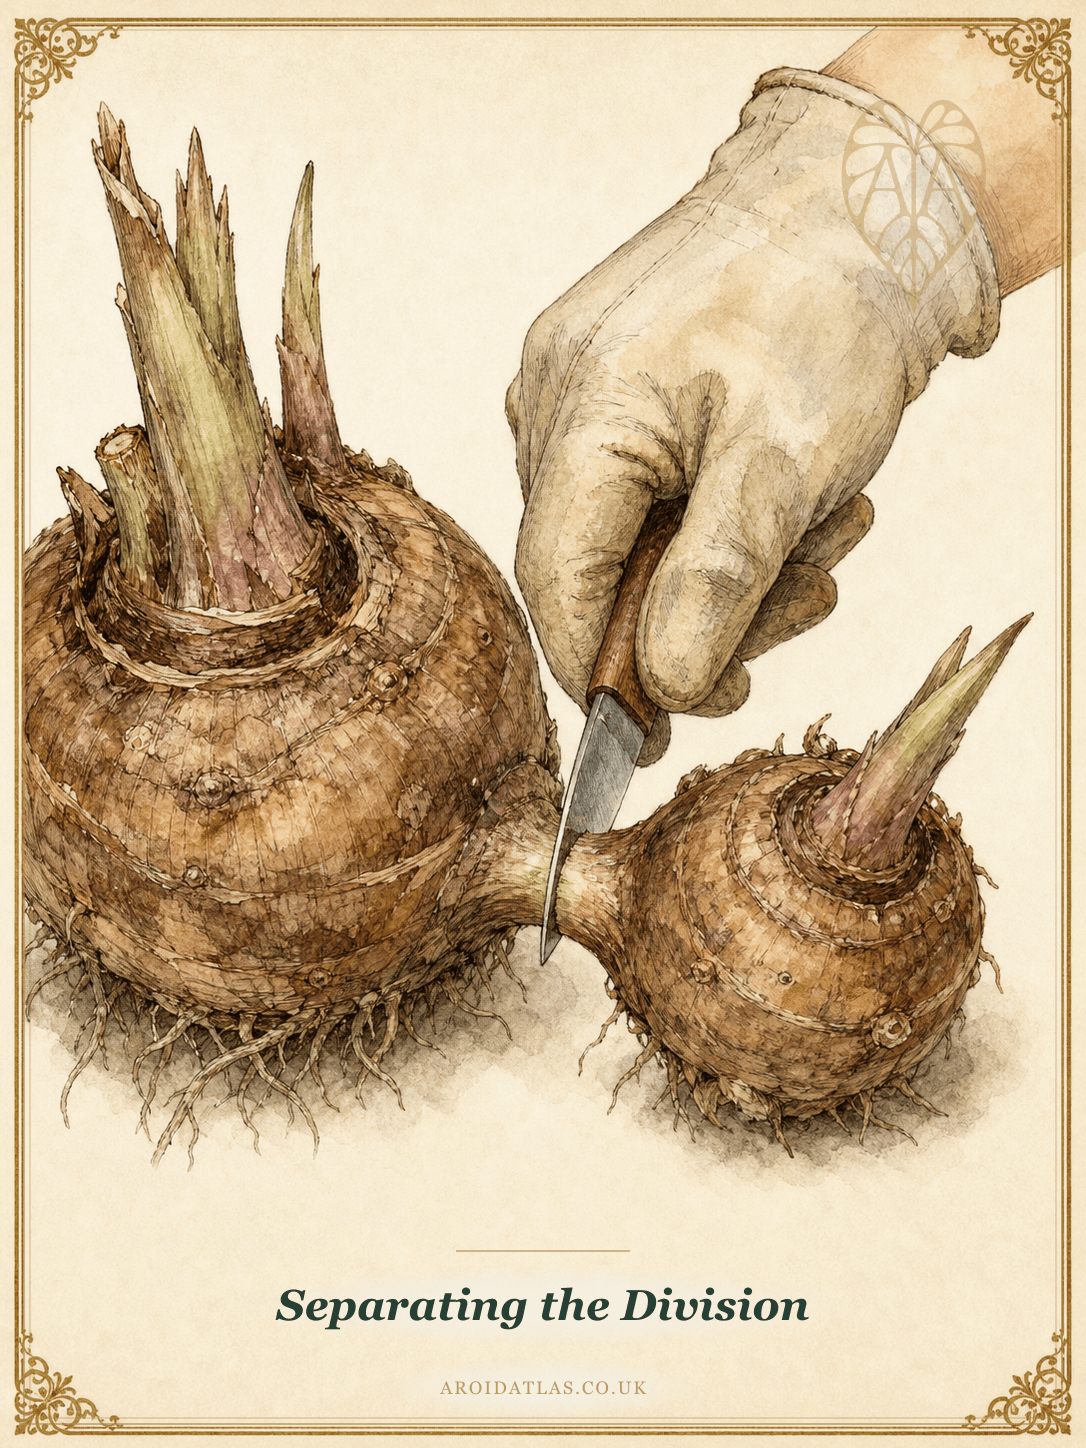
Separating the Division
Cut through the narrow connecting tissue between the offset and the mother corm in one clean pass rather than sawing back and forth, which bruises the surrounding tissue and slows healing. Keep as many of the offset's own existing roots intact as possible during the separation.
Check for root initials on the offset before you cut. A bump with no root growth of its own yet is a dud, and separating it wastes a cut for nothing.
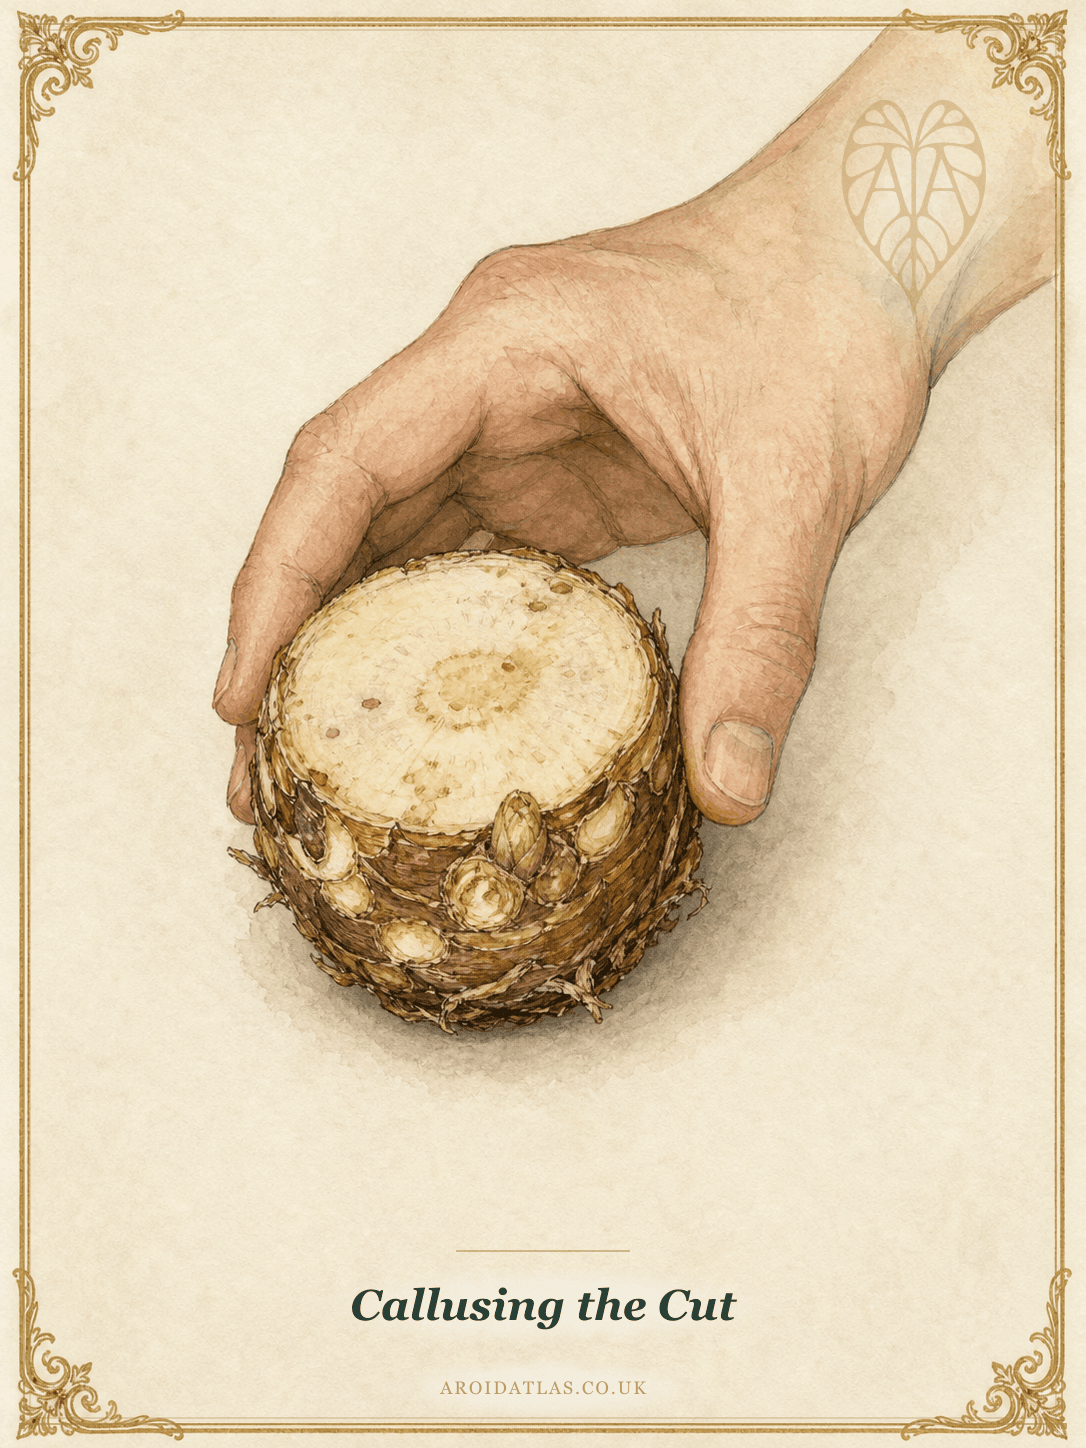
Callusing the Cut
Set the freshly divided offset aside in a dry, shaded spot for 24-48 hours and let the cut surface air-dry into a seal before it ever touches damp substrate. This single step is the biggest factor separating a division that roots cleanly from one that rots at the cut, since an unsealed, moist wound sitting in wet mix is exactly the environment fungal and bacterial rot organisms need.
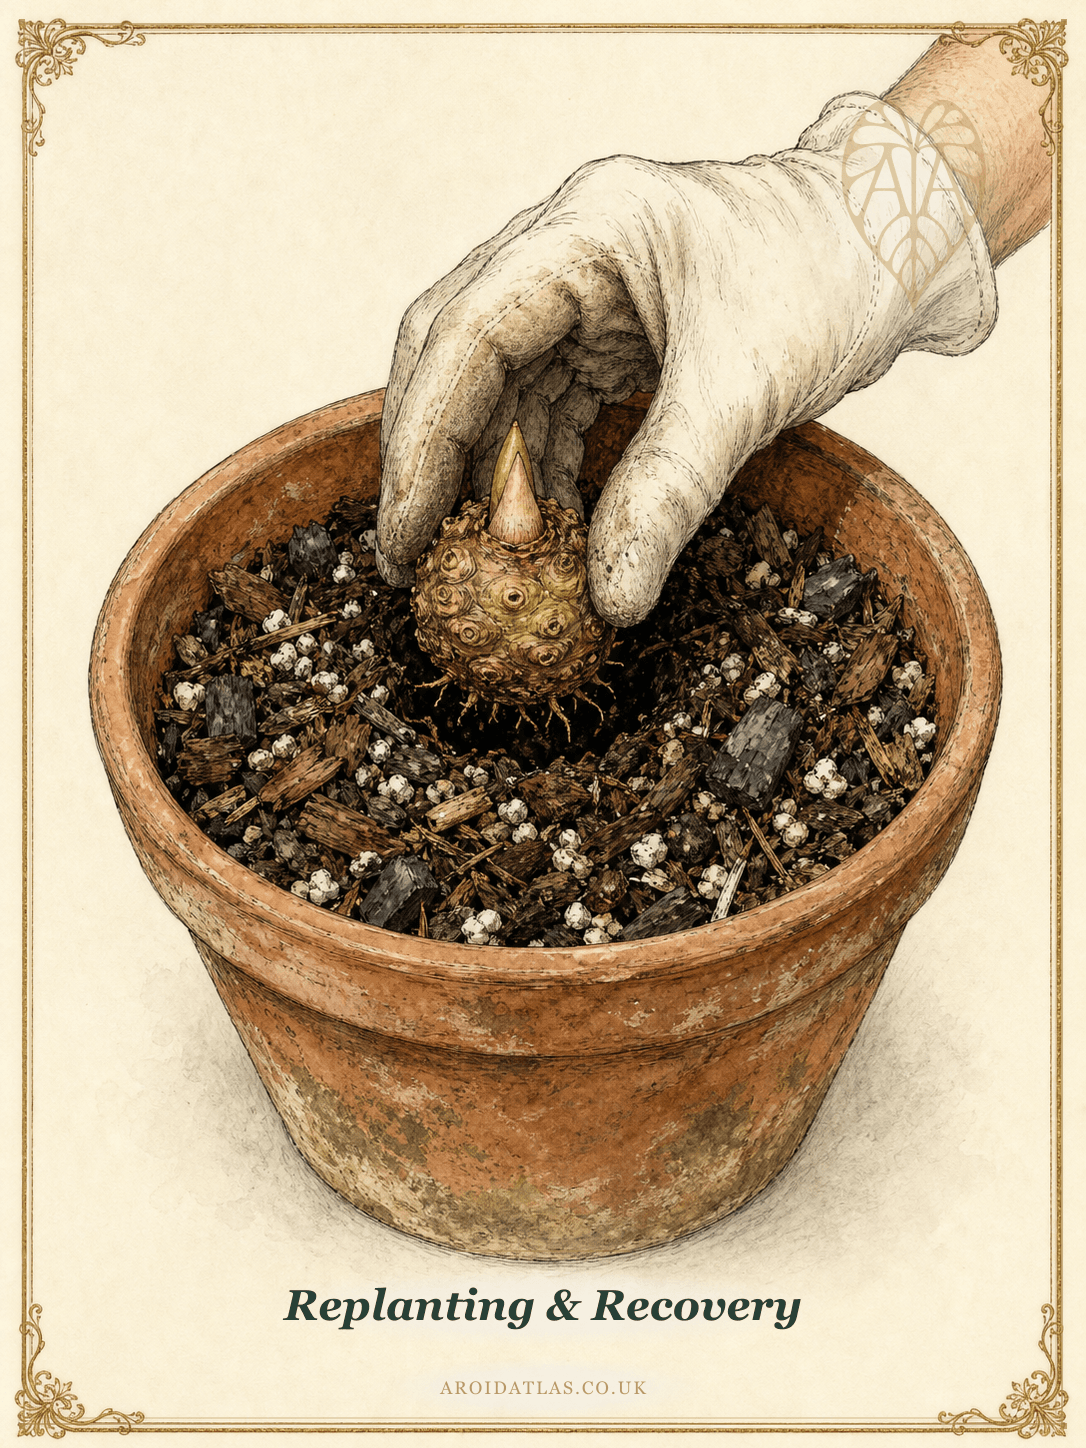
Replanting & Recovery
Pot the callused offset into a well-draining aroid mix and water sparingly until you see clear signs of active growth: a new leaf point emerging, or resistance when you gently tug the corm, indicating new roots have anchored it. Overwatering a division before it's actually rooted is the single most common way to lose one.
The oxalate safety note
Alocasia and Colocasia sap is rich in calcium oxalate raphides, microscopic, needle-like crystals that are a well-documented skin and mucous-membrane irritant. It's the same compound responsible for why raw taro (Colocasia esculenta) has to be cooked before it's safe to eat. Wear gloves when dividing either genus, and avoid touching your face or eyes until you've washed your hands thoroughly afterwards.
Reading dormancy instead of panicking at it
Alocasia is notorious for going fully dormant and collapsing its foliage to nothing, especially through a cold or low-light winter. A plant that looks completely dead above soil level often still has a perfectly viable corm sitting underground. Before discarding a collapsed Alocasia, check the corm: if it's still firm rather than soft and mushy, it's very likely to push new growth again once warmth and light return, and can be a candidate for propagation rather than the compost bin.
Callusing time is the whole game
Almost every corm-rot failure traces back to skipping or shortening the callusing step. Twenty-four to forty-eight hours in a dry, shaded spot before the division ever touches damp mix is the single most repeated piece of advice across Alocasia-growing communities, and it costs nothing but patience.
Check for root initials before you cut, not after
A viable offset usually shows two or three pale root nubs already forming at its base. A bump with no root growth of its own yet is a dud, and separating it anyway just wastes a cut and gives you a piece with no way to establish on its own.
Sulfur or cinnamon dusting is a supplement, not a substitute
Dusting the fresh cut surface with powdered sulfur or ordinary cinnamon is a widely repeated trick that does have mild natural antifungal properties. It's genuinely useful alongside proper callusing, but it doesn't replace the air-drying step; treat it as extra insurance, not a shortcut around it.
A dormant corm isn't a dead plant
An Alocasia that's dropped all its leaves for winter and looks finished often still has a firm, viable corm underground. Store it dry, wrapped loosely in barely damp sphagnum, bagged, and kept somewhere cool and dark, rather than composting it, and check back in a few months once warmth returns before writing it off.
Related Species
This guide applies directly to the following genera in our archive: